How To Set Up Self-Certification To Meet The New U.S. Mandate Requirements
As cases of the Delta coronavirus variant have risen and vaccination rates slowed, a new vaccine mandate will soon come into place for all U.S. employers with more than 100 workers, this means 80 million U.S. workers will have a choice between providing proof of vaccination or submitting to weekly Covid testing.
This presents a huge challenge for employers to stay on top of, without clear guidance on how. In this blog, we outline how you can use Kadence to help meet the new mandate requirements:
- Put policy in place to meet the requirements of the mandate (proof of vaccination or weekly testing)
- Protect vaccinated workers by preventing those without being vaccinated from entering the workplace
- Visibility as to who is entering the workplace, with an audit trail of their vaccination status
- Ensure a HR process to meet the vaccine mandate or a range of consequences could be administered (ie. termination of their employment contract)
- Protect your company from potential fines from the government (over $10,000 per violation) by ensuring employees are adhering to local law and guidelines
Changing Regulations With No Standardization
Businesses around the world have been busy trying to figure out the best possible return-to-the-office plan to keep employees safe, but what we’ve been hearing so far – the challenge is that there is simply no gold standard or clear guidance for how these processes should be managed – what they are going to do at a tech startup may look very different from what a nationwide retail company is going to accept. In a post-pandemic office economy, setting up a safe office workplace is not enough, your return to the office plan needs to be agile, dynamic that works for your company and people.
Key Considerations Before Implementing The Mandate
- Vaccine proof or weekly tests: Decide whether the company will mandate vaccination or allow unvaccinated employees to be tested weekly, be ready to have a policy in place to handle exemption requests.
- Confidential process to track vaccination status: Employers should have the tools ready to implement a confidential process to request and track employees’ vaccination status.
- Health screening process: If the company decides to allow weekly testing, make sure you have a process in place for health screening, also how should the testing costs be covered.
- Be prepared to handle inspections: OSHA may ask for an employer’s COVID-19 response plan and records if it receives a complaint or inspects a workplace. Employers should also communicate the policy to employees regularly, and those in charge should be trained on how to handle an OSHA visit.
Self-Certification To Keep Your Employees Safe
Self-certify is one of the key return to work features we’ve put in place that allows workplace managers to customize health screening policy and message, making sure employees are self-certified before going to the office.
In Kadence, you can find:
- Self-certification that allows you to pre-screen employees before they check in to their reserved spaces
- Flexible policy settings that allow you to change permission levels or communications to employees
- Auto desk release functionality to optimize availability
- Touchless mobile check-in to ensure safe experiences
Steps To Customize Policy In Kadence
We do not provide recommendations on what language to include, due to the varying governmental and corporate legal requirements and human resources policies, but we highly recommend you consult your human resources and legal teams to make sure you are meeting any legal requirements, while reducing and eliminating any unnecessary liabilities. If you have offices in multiple locations, you can create a policy specific to a location’s requirements if and when they differ from the requirements of another.
You can find the form to create and manage your policy by going to the Settings link in the lower left hand corner in the Kadence platform. It will be the first option to appear, or you can navigate to it by clicking on Policies from the menu options under the Settings header.
1. Give your policy a name
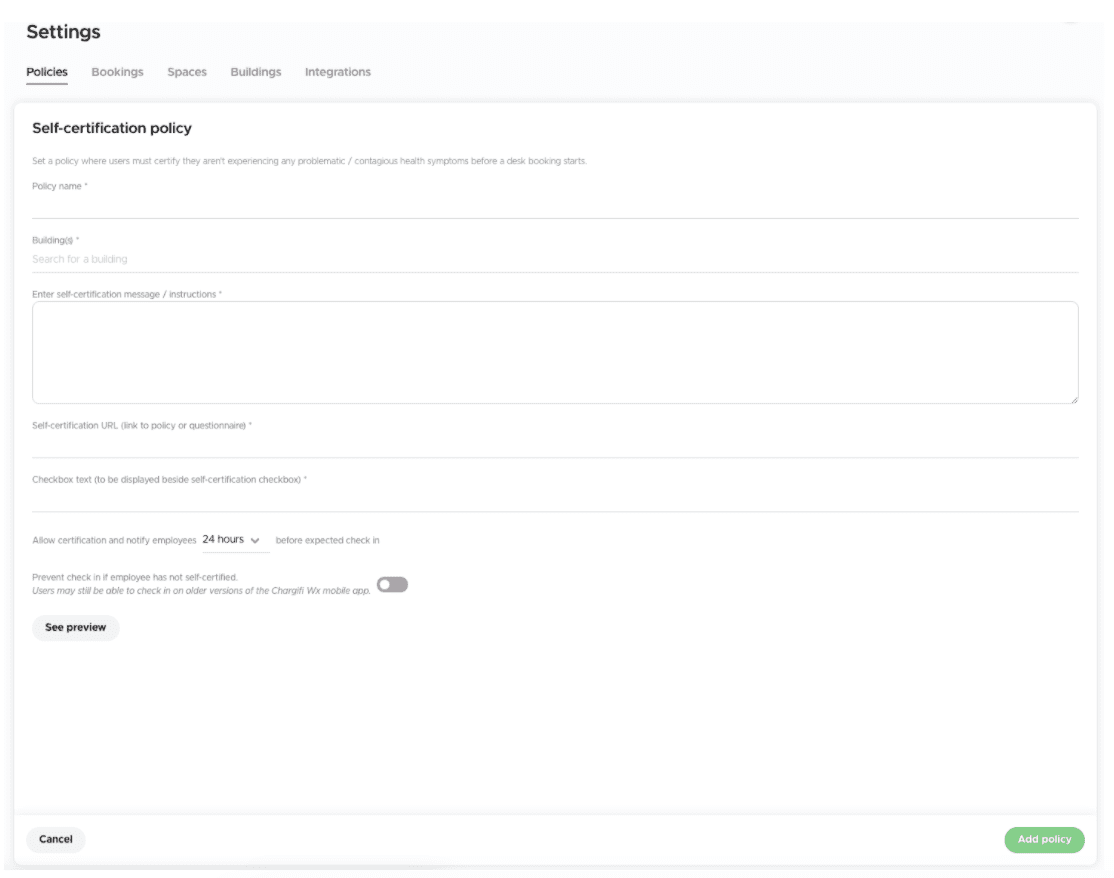
2. Select the building or buildings to use this policy – each building can only have a single policy, but multiple buildings can share the same policy.
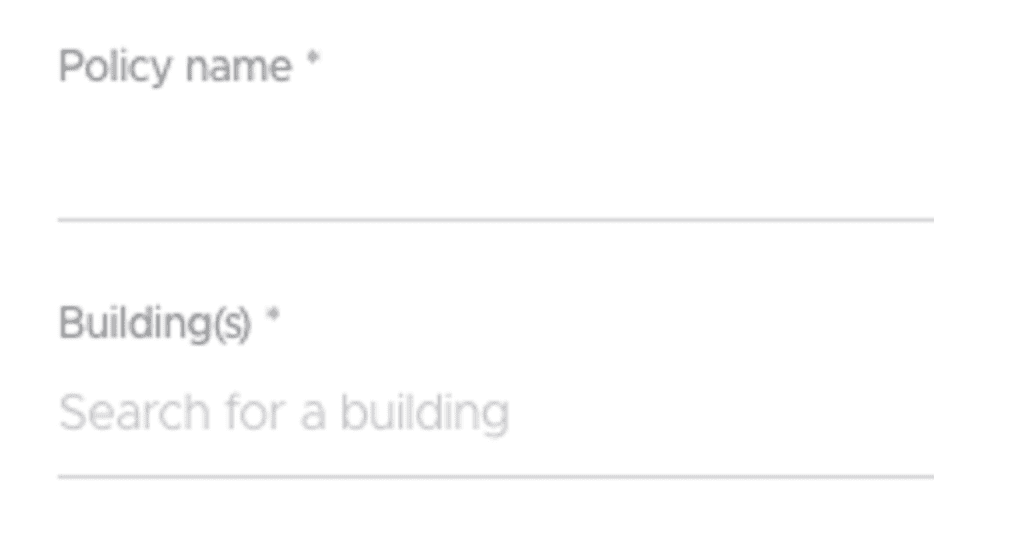
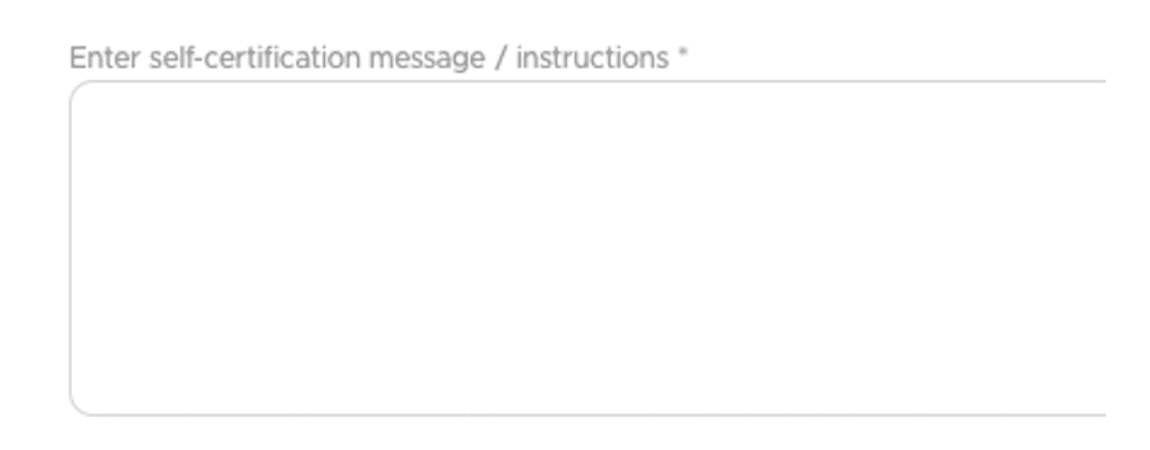
3. Customize health screening message to make sure employees understand clearly before coming into the office.
4. Link to your company policy

For self-certification to work, you will need a link to your policy – this link can take employees to your complete policy, a link to your HR page, a link to the testing center the company is using, or any other government information. This link will pull up separately if the employee taps the View Policy button on the self-certify screen.
We do not maintain a copy of each individual’s completion of the self-certifications due to possible privacy restrictions which might apply based on the language you provide regarding your specific policy. However, there are ways to ensure the self certification has been completed by your employee.
Pro-tip: Use the free text field to provide instructions for how you want them to use the View Policy button.
5. Customize self-certification checkbox message (this is the text that will show next to the checkbox they will be required to check off to complete the self-certification and booking process)

6. Customize and select how far in advance of the booking when employees will be prompted to complete the self-certification process before coming to the office.

7. Prevent check-in without completing self-certification
This is the feature that, when used in combination with enabling Release Desks, can help you ensure that employees are completing the self-certification. All bookings will prompt the employee to check-in, but turning on this toggle will prevent them from checking in without completing the self-certification.

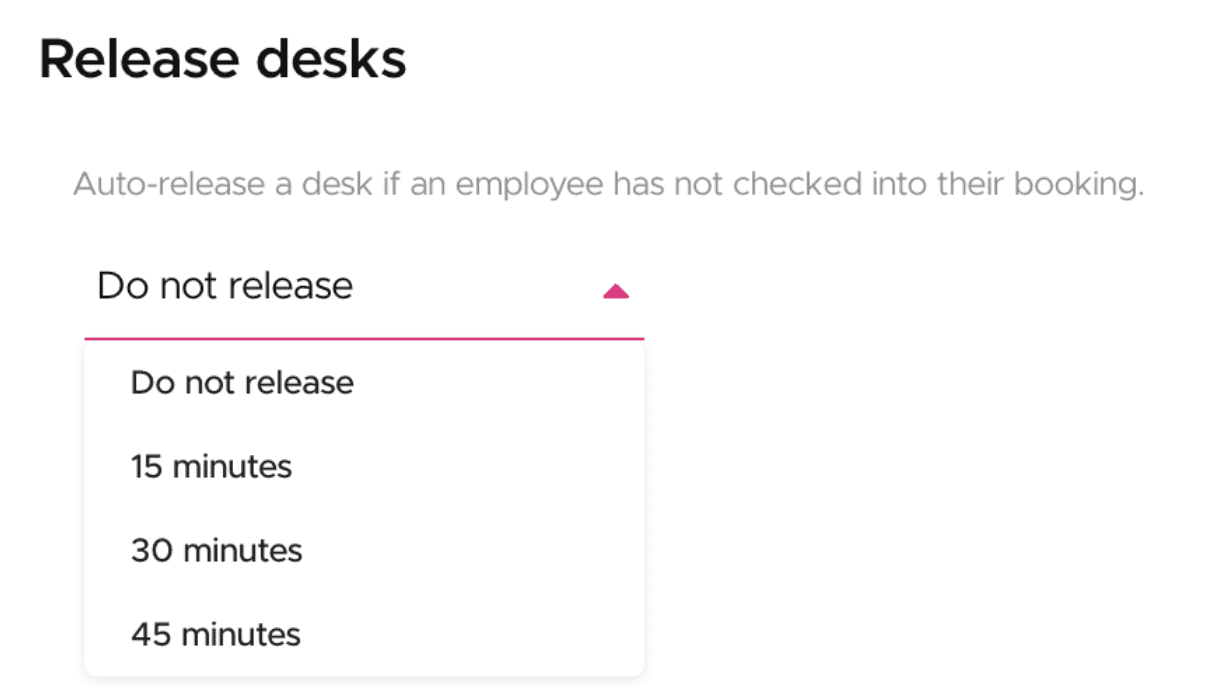
8. Release desks to optimize availability
To enable Release Desks, go to Bookings in the menu under the Settings header and you can choose between 15, 30, and 45 minutes after the booking starts to cancel the booking if the employee has not checked in. They will get another notification 10 minutes before their booking is cancelled prompting them to check-in. If they fail to check in before the time expires, they will get an email informing them their booking has been cancelled.
9. Keeping track of cancelled bookings
If you have enabled the prevent check-in (step 8) and release desks, then you will be able to use the data in Bookings (from the left hand main admin menu) to determine who completed the self-certification on any given day as their booking would appear in the Past bookings and those who did not complete it would show in the Cancelled bookings.
10. Communicate clearly to your employees
We recommend notifying your employees of this functionality when you create a self-certification policy using Kadence. We also recommend you explain the reasons you are using the Release Desks functionality before enabling it to avoid confusion and frustration when someone gets that email informing them their booking was cancelled. Reasons we encourage our customers to use Release Desks:
- Enforce self-certification
- Create a feeling of trust with your employees that you are taking steps to make sure people are safe when in the office, and to understand how you can best support their efforts while in the office
- More reliable data about how your employees are using your office space, and the ability to make data-informed decisions
Wondering what it looks like in practice? We’d love to show you – book a demo here


